Sunday 31 August 2014

Make your own background

Good Sunday afternoon folks

Well it's the last day of August and I am back from my holibobs, getting ready for work tomorrow. The children's uniform has been bought and labelled, pencil cases filled and shoes polished so they are ready for their return to school. I can't believe how quickly the last 5 weeks have gone and it's head down now till Christmas (only 116 days to go till the big day!!!!) so today I decided I would craft all day.
The challenge at I love Promarkers is make your own background so I decided to give it a go. I have seen lots of crafty people (on the TV and at shows) making their own stamps by die cutting funky foam so I decided I would give that a go too. I used some funky foam from my daughter's crafty stash (well it makes a change from her borrowing my stuff) and Tonic's Marazine Blue die set. It cut like a dream - I only had to run it through the Grand Calibur once. I was a little sceptical about how well it would stamp but they did ok, as you can see.
I used Memento dew drop ink pads in angel pink, rose bud and London fog and used the ink, blot, plot technique to stamp each design.
This is how I used my background paper -
I began by making a A5 card blank with a piece of A4 pink centura pearl card stock and my Ultimate Pro. I trimmed my backing paper to fit and matted and layered it onto a piece of dark pink core'dinations card. I than attached the whole thing to the card base. 
I made a border using the dark pink card which I die cut using Spellbinder's classic petals border die set. I added a piece of silver centura pearl to the centre of the border, then added a piece of pink gingham ribbon (from the Ribbon Girl) and attached the whole thing to the card base.
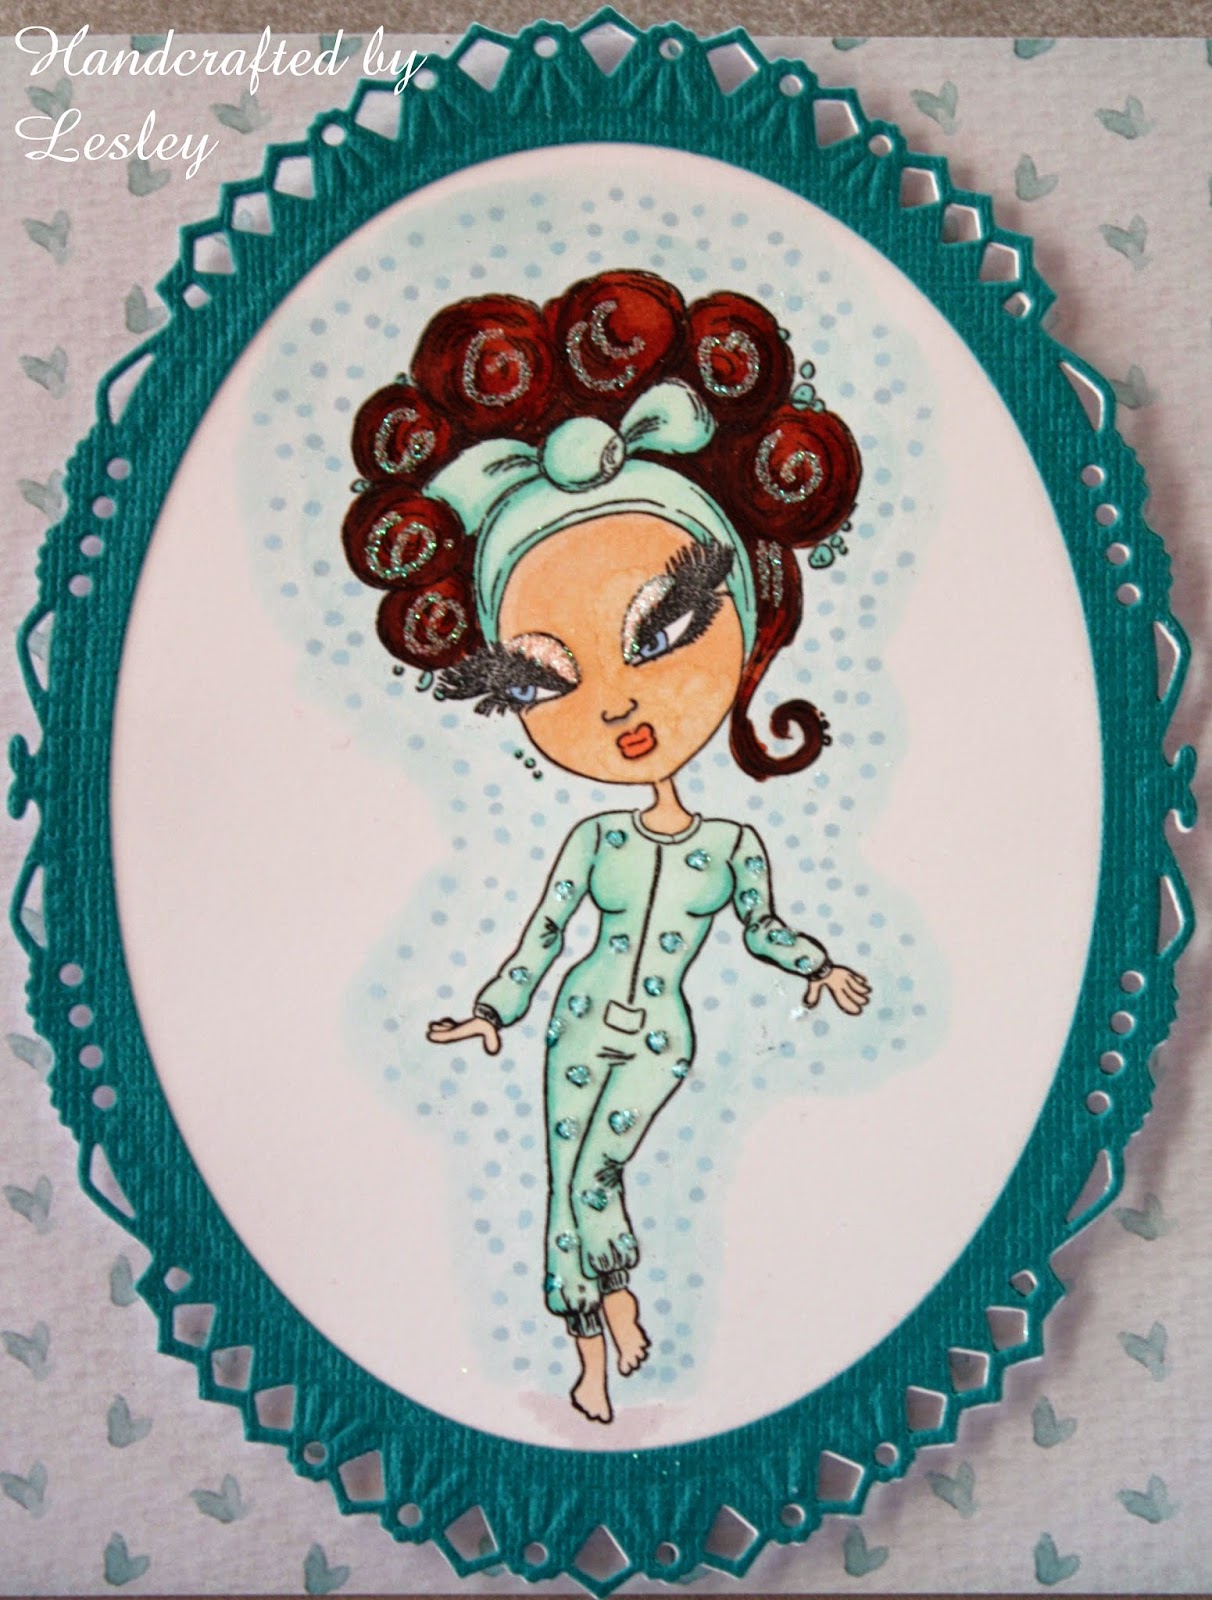
The image is Mindy by Julie Nutting which is a huge stamp, it virtually filled the card blank. Whilst on my holibobs I found a lovely little craft shop called Papermaze (they also have a website which you can find here) which is where I bought this stamp (amongst other things). I coloured Mindy with the following Promarkers - 
  • hair - raw sienna, terracotta and burnt umber
  • skin - satin, blush and dusky pink
  • dress - cerise, carmine, magenta, pastel pink, pale pink and cocktail pink
  • outline - pastel blue
  • shadow - silver lining

This stamp would also be great to paper piece too but that's for another day.
I cut Mindy out using scissors leaving a narrow white border, then matted her on to dark pink core'dinations and trimmed to a narrow border. I attached her to the card with foam pads.
I made a flower using Die'namics plentiful petals die and scraps of the papers. I added a pink sparkly gem to the centre of the flower.
To finish I added 2 Tonic butterflies with pink gems for their bodies and stamp a sentiment from LOTV's sentiments to fit scrolls.

I would like to enter this card into the following challenge - 
http://ilovepromarkers.blogspot.co.uk - challenge 234 - make your own backgrounds

Many thanks for stopping by 

Lesley

Saturday 16 August 2014

You are invited

Hello
As promised here are a couple of photos of the invitations I made for my parents' 50th wedding anniversary party. 
I kept the design nice and simple as I had to make them in bulk. 
I began by covering a 6 inch square card blank with gold centura pearl paper. I then ran a piece of cream centura pearl through the Grand Calibur with a rose Embossalicious embossing folder and then added a Tonic Rose deco frame cut from gold centura pearl.
The sentiment is from Clarity Stamp which I cut out with Spellbinder's Resplendent rectangles and inked whilst still in the die with old paper distress ink. I then attached it to the card with foam pads.
To finish I included an insert created on the computer.

Well that's me done for a little while now as I am off on my holidays. Take care everyone and I will see you all in September.

Thanks for stopping by.

Lesley

Friday 15 August 2014

Christmas again

Good Friday morning folks
Here is today's card (sorry about the photo quality, the light suddenly changed as I was taking the photos)-
I began by cutting a piece of paper from LOTV's Woodland wishes paper pad to the correct size to mat and layer onto a 6 inch card blank. I then cut another of the papers from the pad using the largest 2 dies from Tonic's Just a note die set and attached it to the base paper. I attached some ribbon (from my stash) and some lace (from the Ribbon Girl) along the bottom of the papers and then attached the whole thing to a 6 inch card blank.
The beautiful image is LOTV's Christmas prayer which I coloured with the following Promarkers - 
  • hair - praline, saddle brown and burnt sienna
  • skin - satin, blush and dusky pink
  • head dress - pine, wild cranberry and god
  • stars - gold
  • dress - vanilla, pastel yellow and saffron
  • wings - ivory and pastel beige
  • sky - pastel blue

I cut the image out using a smaller die from Tonic's Just a note die set and then matted it onto a square of one of the papers from the pad. I attached this to the card with foam pads.
I then made a Spellbinder's poinsettia using scraps of the papers, added a bit of bling from my stash to the centre and then attached to the card with Pinflair.
The sentiment is from LOTV's handwritten Christmas phrases which I cut out with a Die-namics mini tabs quartet.

I would like to enter this card into the following challenges -
http://ilovepromarkers.blogspot.co.uk - challenge 232 - anything goes

Thank you for stopping by.

Lesley

Thursday 14 August 2014

Season's greetings from James

Hello folks
I have been neglecting my blog recently although I  have been very busy crafting. In September my mum and dad have been married 50 years and I have been given the task of making all the invites to the party. This is what I have been doing during my absence. They are now finished (photos to follow), written and ready tp post so I now feel I can get back to my Christmas crafting.
Which brings us onto today's card and yes it is a Christmas one - 
I began by cutting a 8inch square card blank to a 7 inch card blank which I then covered with a paper from LOTV's frosty Christmas paper pad. Now my crafty mojo has been a little hard to find at the moment so I hopped over to LOTV's Ideas to Inspire website and used one of their sketches to help me complete this card. I used sketch #14. I followed the sketch using more of the papers from the pad but I cut the border using Spellbinder's Classic petal border die and added some ribbon and lace (from the Ribbon Girl).
The image James - snow angel which I coloured with the following Promarkers - 
  • James - cool grey 1 and cool grey 3
  • hat, coat and boots - cloud blue, cadet blue, verdigris and ice grey 1
  • scarf - royal blue, midnight blue and ice grey 1
  • snow - icicle

I added lots of glitter to the snow and James' hat, and then added some glossy accents to his nose (I think I should have let it dry fully before taking the photo as it isn't clear yet). I cut the image out with Spellbinder's grand decorative circles one, inked whilst still in the die with tumbled glass distress ink and attached to the card base with foam pads.

The sentiment is from LOTV's handwritten Christmas phrases sentiment set which I cut out with Spellbinder's Resplendent rectangles, inked whilst still in the die with tumbled glass distress ink and attached as shown with Pinflair.
To finish I added 2 blue gems from the Ribbon Girl.

I would like to enter this card into the following challenges -

Many thanks for stopping by

Lesley

Saturday 9 August 2014

Sweet snowman

Good morning folks

Another Christmas card today -
I began by covering a 6 inch card blank with a white and red Christmas paper from my stash. I then cut a square using the outer 2 dies from Tonic's square base affections die set and a red Christmas paper from my stash.
The image is from Penny Black called Sweet snowman which I coloured with the following Promarkers - 
  • snowman - icicle, April shower, orange and mandarin
  • hat and scarf - berry red, ruby, crimson, bright green and forest green
  • present - berry red, ruby, crimson, bright green, forest green and gold
  • sky - pastel blue

I cut the image out with Tonic's layering squares and stamped a Penny Black sentiment in the corner. I attached it to the card base with foam pads.
I added some snowflakes cut using Spellbinder's create a flake 4 and some white card which I attached to the card with foam pads. To finish I added some silver gems to the centre of each snowflake.

I would like to enter this card into the following challenge - 
http://pennyblackatallsorts.blogspot.co.uk - August challenge - anything goes

Thank you for stopping by to read my blog

Lesley

Friday 8 August 2014

Birthday Tilda

Hello Folks

This is the card I made for my daughter's birthday for her brothers to send to her. She loves making cards herself and the boys have got used to not having to buy any so they were a bit lost when it came to her birthday. So mum to the rescue - 
I began by covering a 6 inch square card blank with a blue heart paper from my stash. I then cut a cream spotty paper (again from my stash) with a Tonic layering square die and then cutting the edge with a Spellbinder's classic petal die. I wrapped a piece of blue ribbon (from the Ribbon Girl) around the card and than attached it to the card base.
The image is Pink Ribbon Tilda from Magnolia whcih I coloured with the following Spectrum noir markers and pencils - 
  • hair - GB8, GB10 and EB5
  • skin - FS1, FS3, TN2 and 009
  • clothes - TB1, TB2, TB3 and TB5
  • ground - BGR1 and BGR3
  • sky - IB1, TB1 and TB2

I paper pieced the bow and the shoes with the cream spotty paper, cut the image out with Spellbinder's Stately circles, inked whilst still in the die with tumbled glass distress ink and than matted onto a Grand decorative circles one cut from the blue heart paper. I attached the image to the card base with foam pads.
The sentiment is from LOTV's happy circular sentiment set which I cut out with a Spellbinder's stately circle. I removed the sentiment from the die and inked around the edge with tumbled glass distress ink before attaching it to the card with foam pads.
To finish I made several flowers using the papers and Tonic's petal pairs punches. I attached them as shown.

Thank you for stopping by

Lesley

Thursday 7 August 2014

Becoming a teenager

Good morning folks

Today my daughter is a teenager - oh noooooo!!!! But I will survive!!!! Here is the card I made for her birthday -
I began by making a 8 inch twisted easel card which I matted and layered with turquoise core'dinations, silver centura pearl paper and a butterfly paper from Crafter's Companion's Scruffy Little Cat pastel paper pad.
The image is Niamh from Crafter's Companion's Scruffy Little Cat range which I coloured with the following Spectrum Noirs - 

  • hair - TN7, TN8 and EB8
  • skin - FS1, FS3, FS4 and FS6
  • lips - CR1
  • eyes - TB4
  • onesie and bow - BT2, BT3, BT4 and BT6
  • shadow - BGR1
  • background - IB1, TB1 and TB2

I added lots of glitter to the onesie, hair and eyes and then cut the image out with Spellbinder's Grand decorative ovals one. I made a frame from turquoise core'dinations using Spellbinder's Grand decorative ovals one and a grand nesting oval which I then attached to the outer edge of the image. I added the image to the card with foam pads.

I stamped one of the sentiments from the stamp set and cut it out with Spellbinder's Floral ovals. I inked the edge of the die cut with tumbled glass distress ink and then made a frame from turquoise core'dinations using Spellbinder's Floral ovals and a nesting oval which I then attached to the sentiments. I attached it to the card with foam pads to create a stopper.
I cut 2 Spellbinder's sprigs from silver centura pearl and attached to the card either side of the sentiment. I then cut several Spellbinder's blooms 3 from the butterfly paper and added them to the card as shown.
To finish I added a silver 13 peel off.

Thank you for stopping by.

Lesley

Wednesday 6 August 2014

Caroling trio

Good morning folks

This week's challenge at Allsorts is favourite things which is always a challenge and my favourite things to craft with do change. I do however have some firm favourites which I have used to make this card - 
I began by embossing a piece of paper from LOTV's Frosty Christmas paper pad (I love LOTV's paper pads so this is one of my favourite things) with an Embossalicious Seasonal music embossing folder. I trimmed the paper to fit on a 6 inch card blank and inked around the edge of the paper with tumbled glass distress ink (another favourite).
The image is Penny Black's Caroling Trio which I stamped onto watercolour card and coloured with Spectrum Noir pencils Essentials set (fast becoming a favourite) - 
  • mice - 003, 004, 089 and 009
  • scarf - 056, 058 and 047
  • gloves - 067, 071 and 073
  • lantern - 067, 071, 022, 020, 015 and 120
  • snow - 112 and 117
  • sky - 067

I cut the image out using Spellbinder's floral ovals (my favourite Spellbinder's die set) and inked whilst still in the die with tumbled glass distress ink. I cut a Spellbinder's decorative labels 8 from another of the papers from the Frosty Christmas paper pad, matted the image onto it and then attached the whole thing to the card base with foam pads.

I cut a Spellbinder's layered poinsettia (another favourite) from a scrap of blue spotty paper and some ivy using a Marrianne die and some white centura pearl, and arranged them onto the card as shown.
The sentiment is from Crafter's Companion's Makey Bakey mice Christmas carols stamp set which I cut out using a smaller die in the Spellbinder's floral ovals die set. I inked the edges of the die cut with tumbled glass distress ink. I attached it to the card with foam pads.
To finish I added some blue gems to the image and to the centre of the poinsettia.

I would like to enter this card into the following challenge -
http://allsortschallenge.blogspot.co.uk - week 270 - Favourite things (LOTV paper pads, Spellbinder's floral ovals and poinsettia dies, Spectrum Noir pencils and tumbled glass distress ink)

Thank you for stopping by and reading my blog

Lesley

Tuesday 5 August 2014

Xmouse

Hello Folks
Another Christmas card today - Christmas crafting now at full steam!!
I began by a covering a 5x7 card blank with a striped paper from a Docraft's Tulip paper pad. I then cut a Spellbinder's A5 Tranquil Moments using a blue spotty paper from the paper pad and attached it to the card base as shown.
The image is Xmouse ornament from Penny Black which I stamped onto watercolour card and coloured with Spectrum Noir pencils (all the colours are from the essentials pack)
  • mouse - 003, 004, 089 and 009
  • star - 067, 071 and 073
  • star - 112 and 117

I cut the image out with a Spellbinders 2012 Heirloom ornament die, inked whilst still in the die with tumbled glass distress ink and attached to the card base with Pinflair. I added a blue ribbon bow (from my stash) to the top of the image.
The sentiment is from LOTV's handwritten Christmas phrases and cut out using Spellbinder's A5 Tranquil moments die.

I would like to enter this card into the following challenge - 
http://pennyblackatallsorts.blogspot.co.uk - August challenge - anything goes

Thank you for stopping by

Lesley

Monday 4 August 2014

Christmas from me to you

Hello Folks and a very happy Monday to you all

The challenge at I love Promarkers this week is ribbons and here is my card for the challenge - 
This is another simple card which is quick to make and cheap to post. 
I began by covering a 6 inch card blank with a paper from my Christmas stash. I then cut another paper with 2 dies from Tonic's Just a note die set and attached to the card base.
The image is Me to you from Docrafts which I coloured with the following Promarkers - 
  • hat and coat - berry red, ruby, crimson, cool grey 1, gold, black and cool grey 5
  • bear - ice grey 1, ice grey 3, ice grey 5 and arctic blue
  • snow - icicle
  • sky - pastel blue

I cut the image out with a Spellbinder's circle nestie and inked whilst still in the die with tumbled glass distress ink. I cut a Spellbinder's Stately circle from the red paper and attached my image to it. I added the completed topper to the card base with foam pads and attached a ribbon bow from my stash.
To finish I stamped a sentiment from LOTV's Christmas handwritten sentiments.


I would like to enter this card into the following challenge - 

Thank you for stopping by

Lesley